Installation & Setup
02Follow these steps to upload and activate the DentaBeam theme on your WordPress website.
Installing the Theme
Log in to your WordPress Dashboard
Go to yourwebsite.com/wp-admin and log in with your admin credentials.
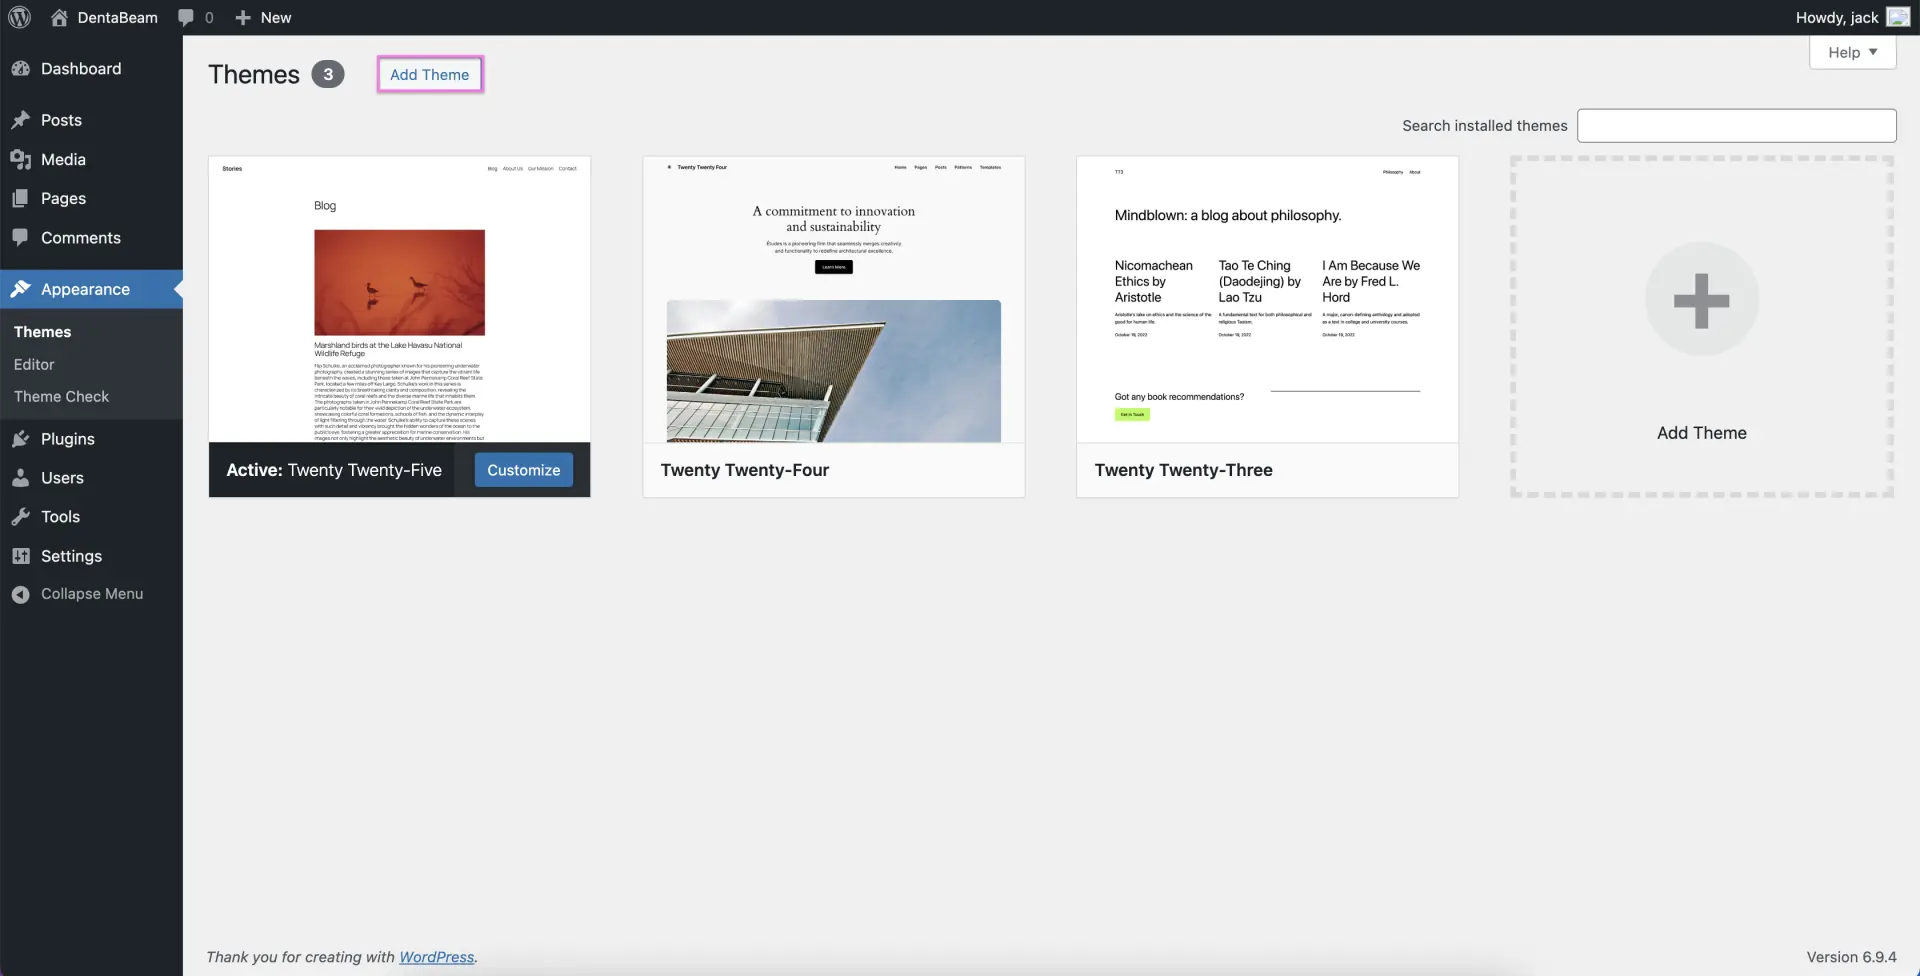
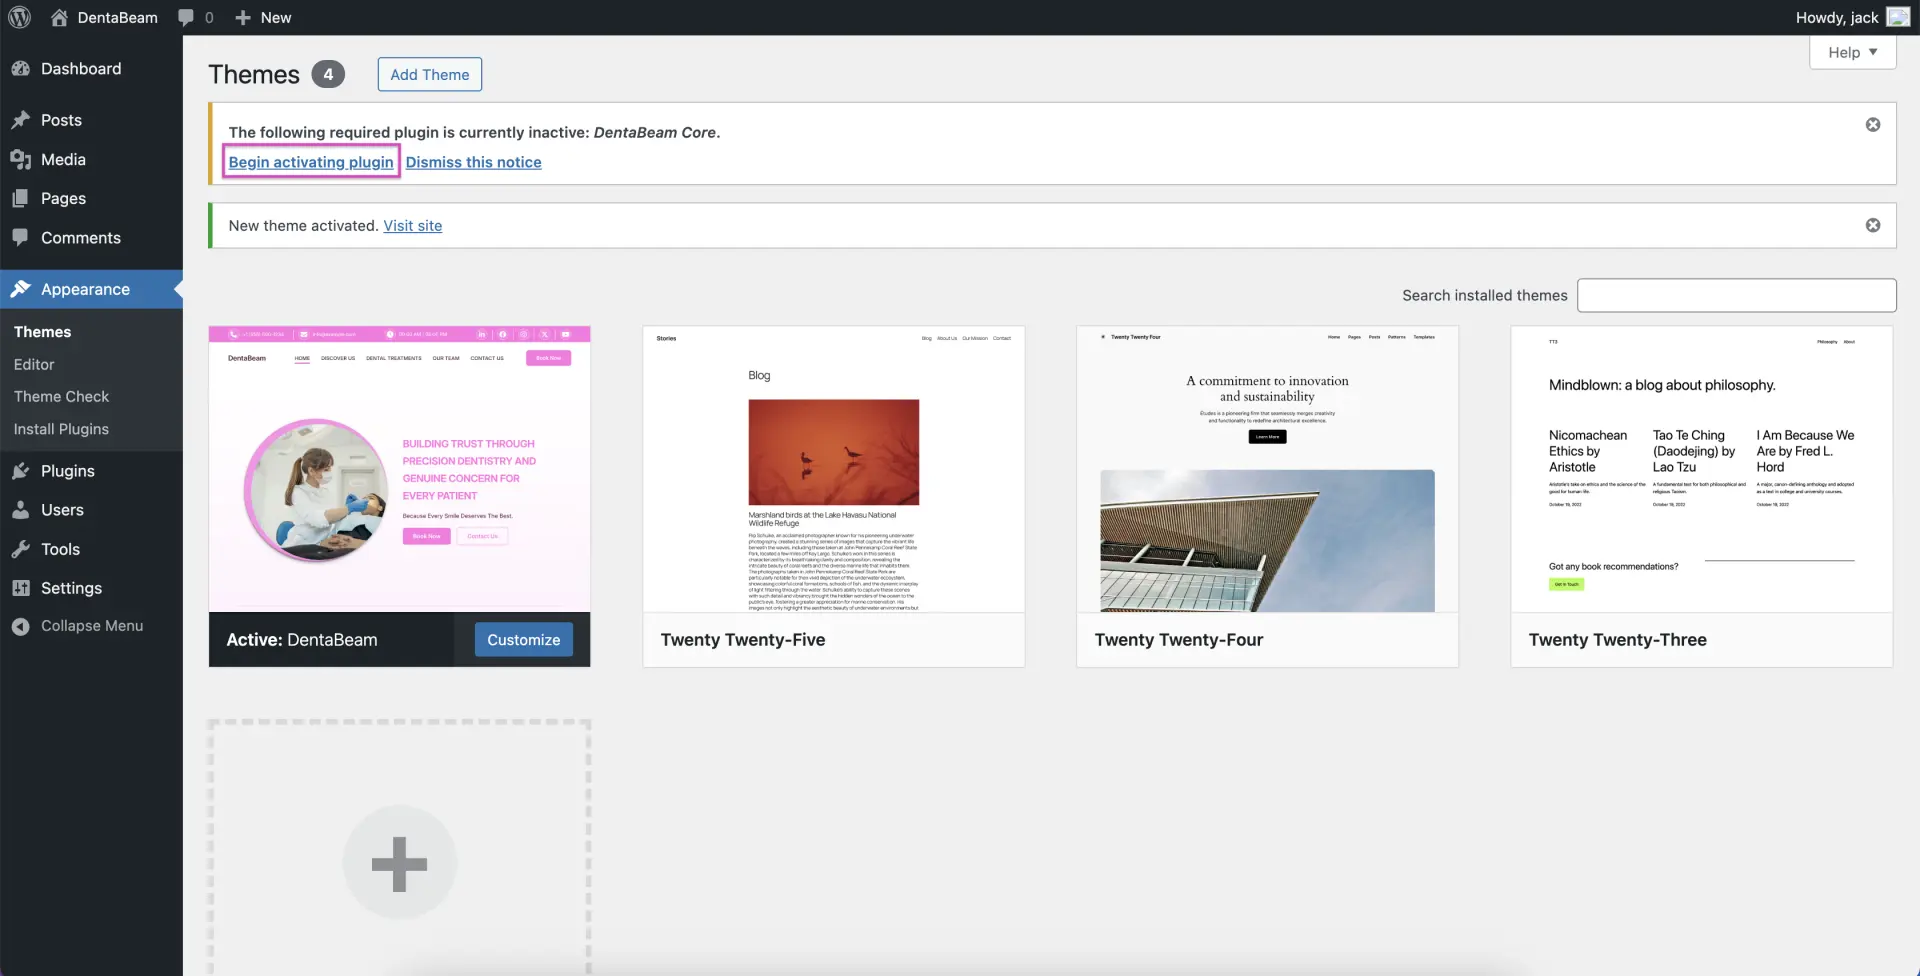
Navigate to Themes
In the left menu go to Appearance → Themes, then click the Add Theme button.
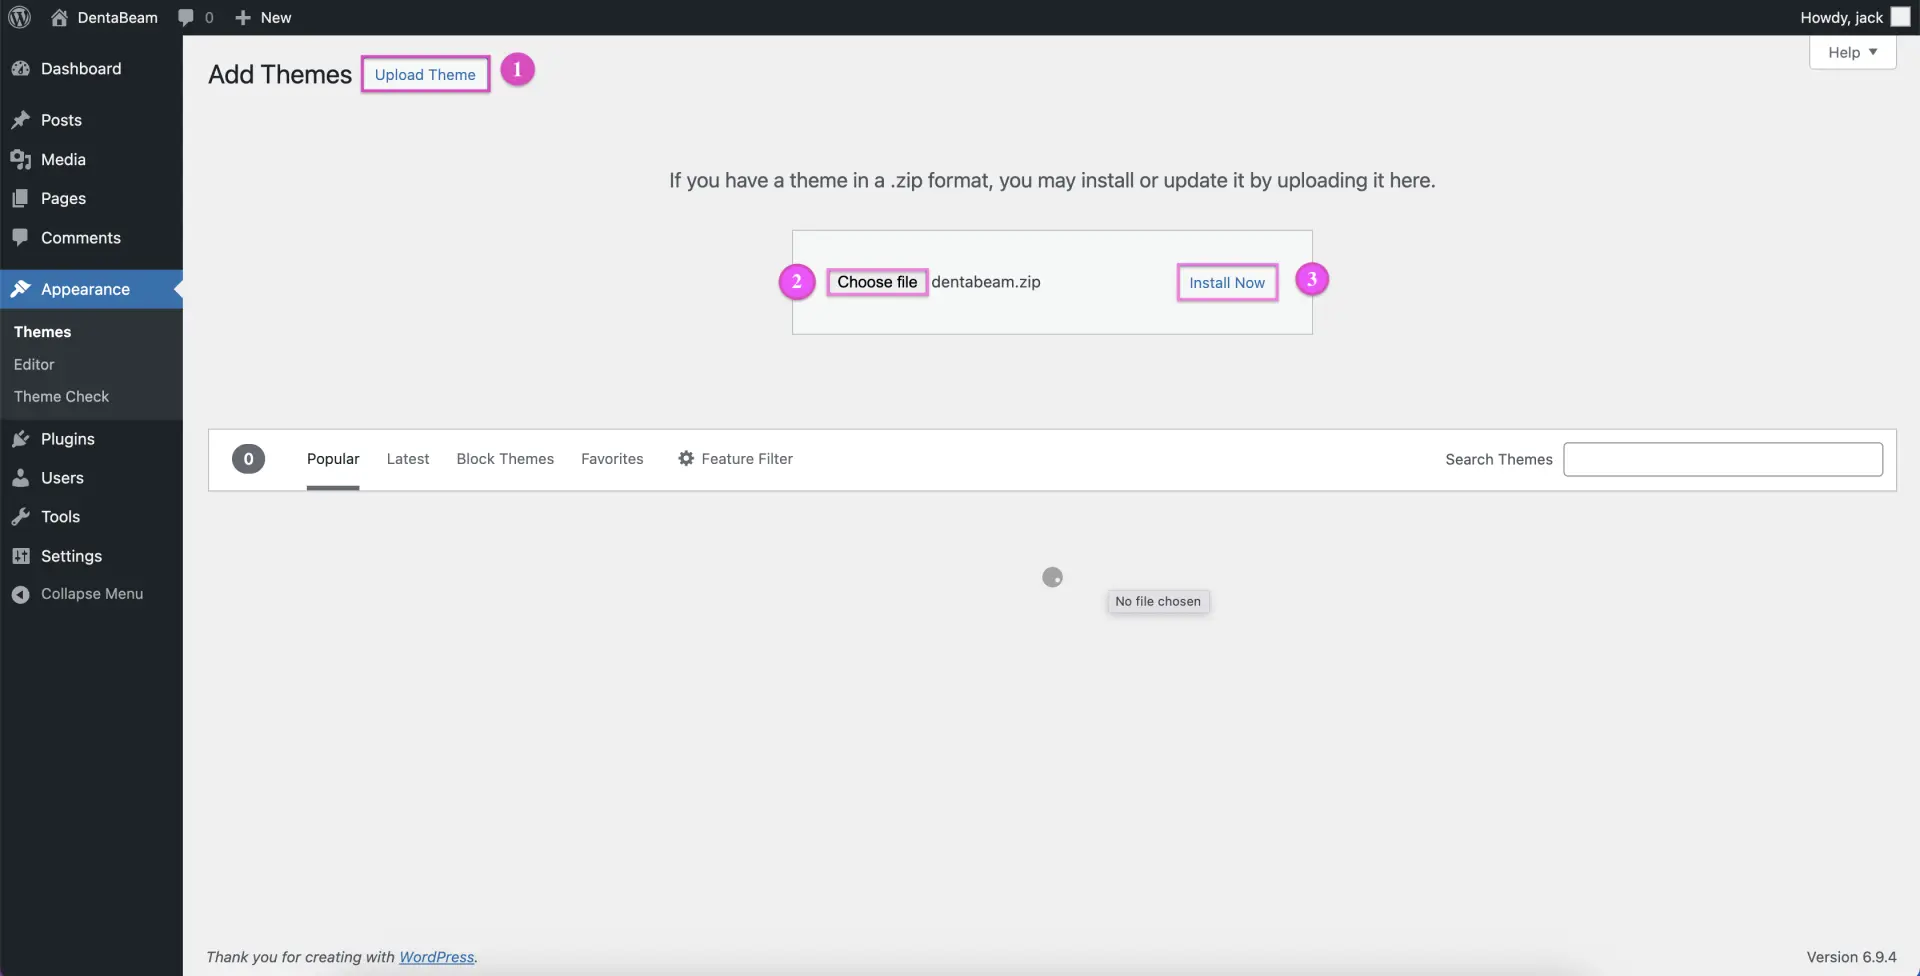
Upload the Theme File
Click Upload Theme, choose the DentaBeam theme .zip file, and click Install Now.
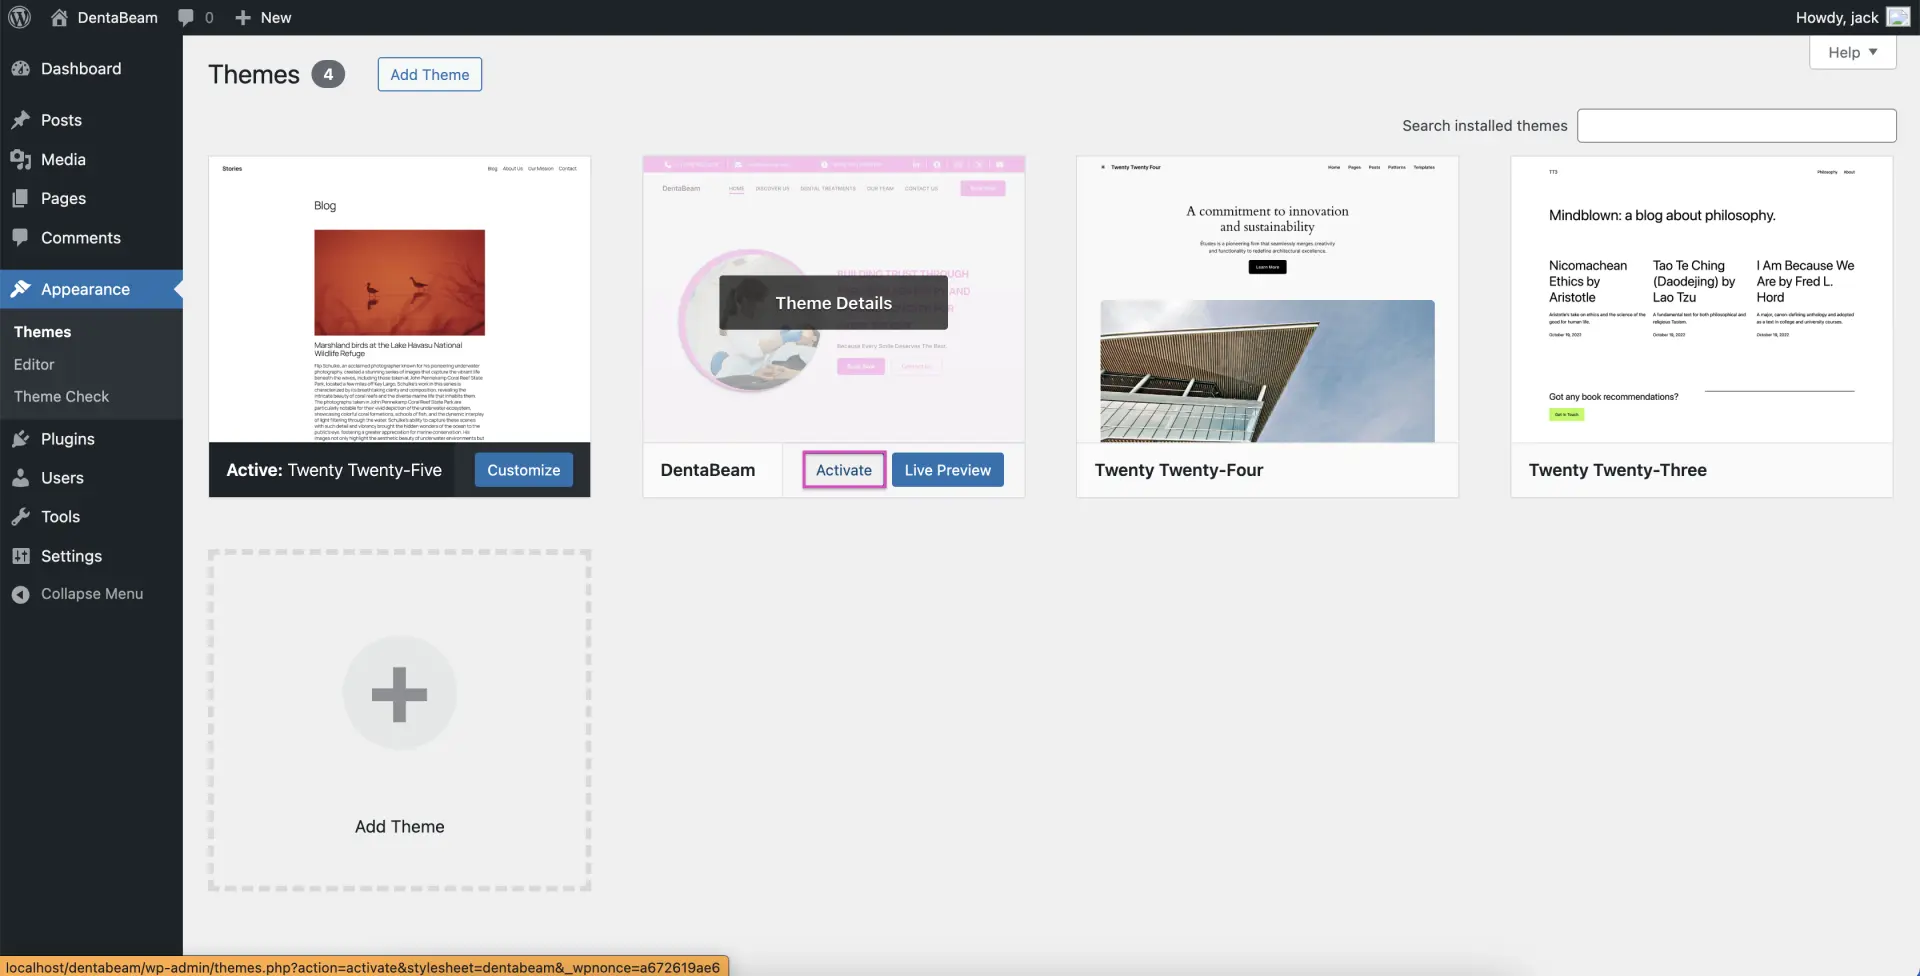
Activate the Theme
Once installed, click Activate. Your site will now be running the DentaBeam theme.
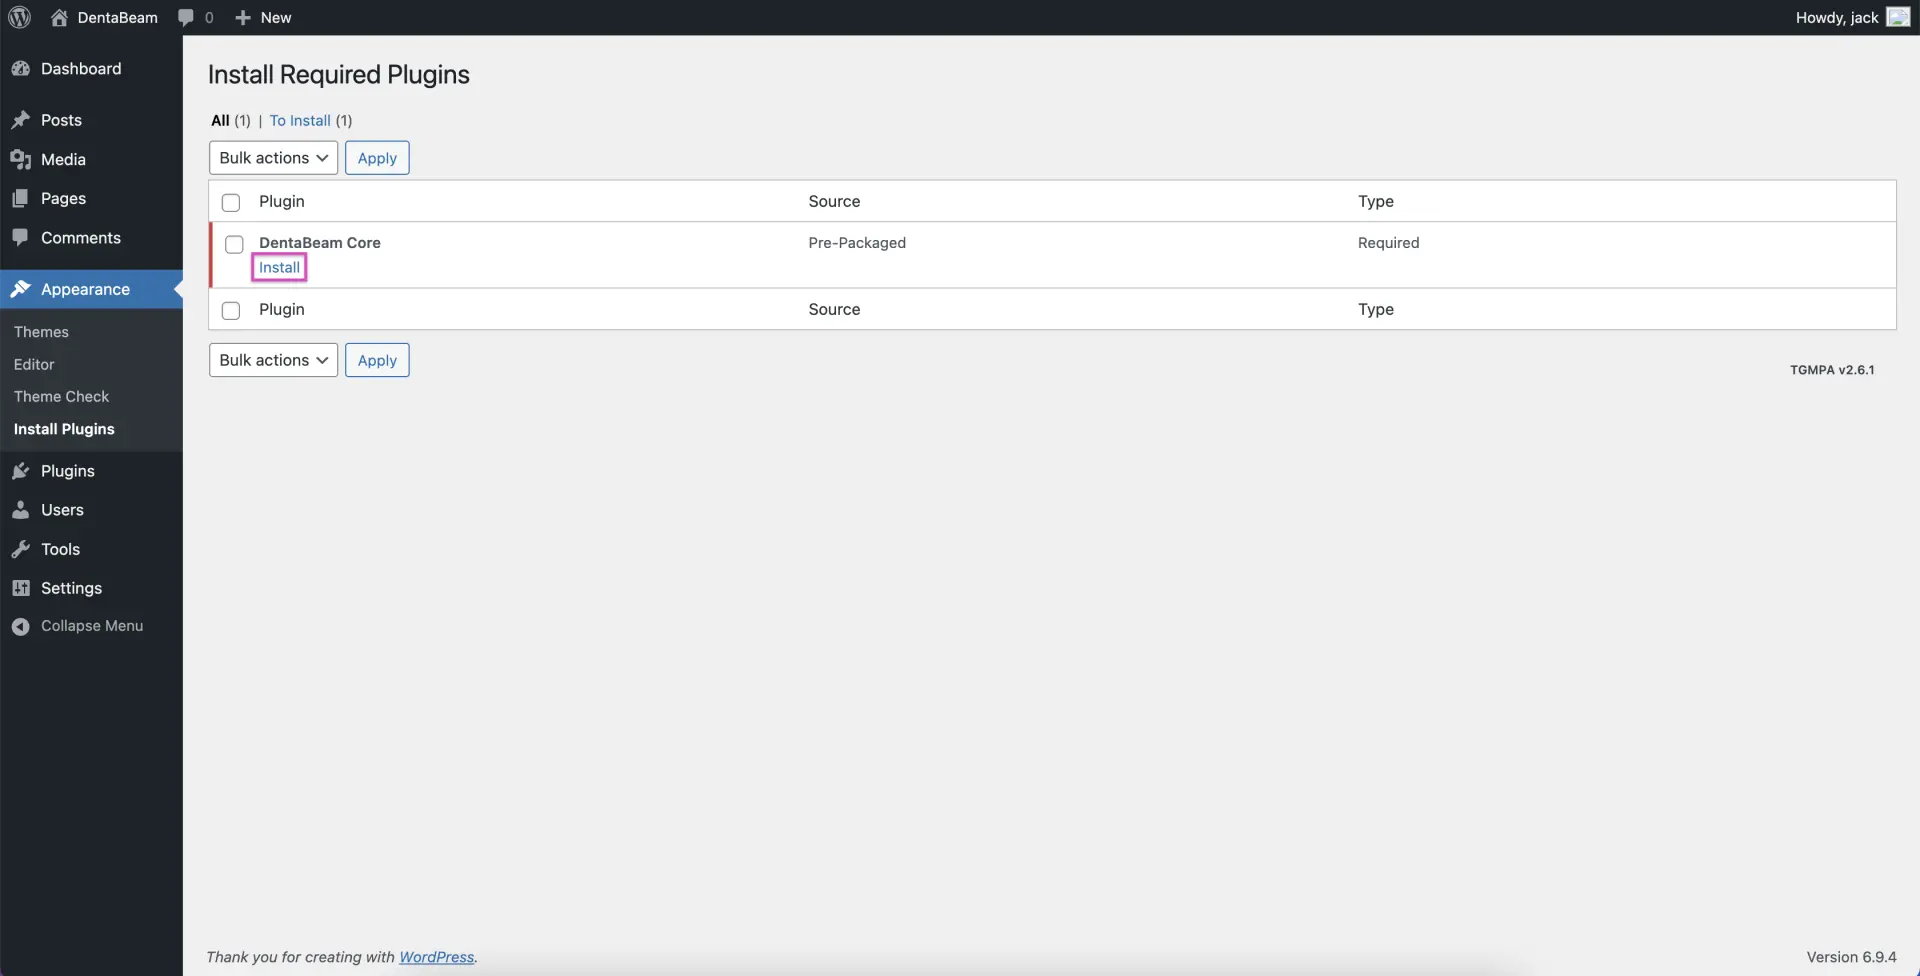
Install Required Plugins
A notice may appear to install recommended plugins. Click Begin installing plugins and activate.

Your DentaBeam theme is now active. Go to Appearance → Editor to start customizing.
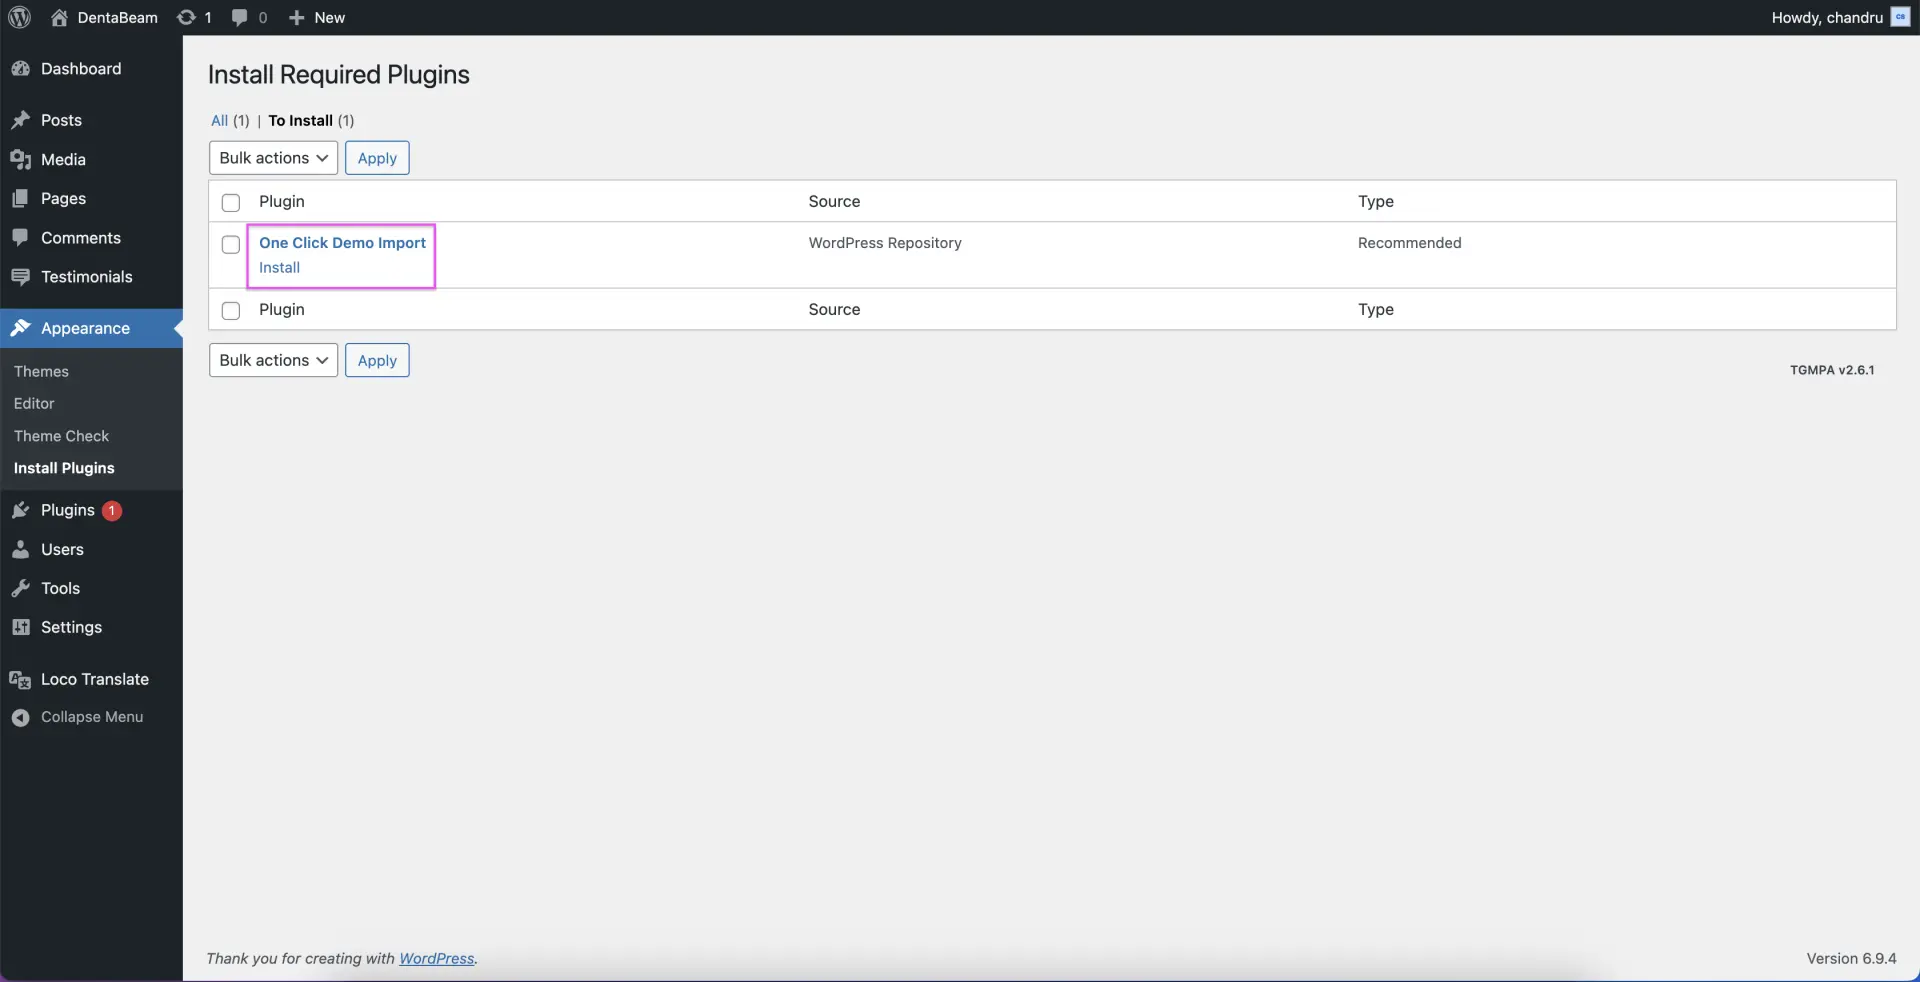
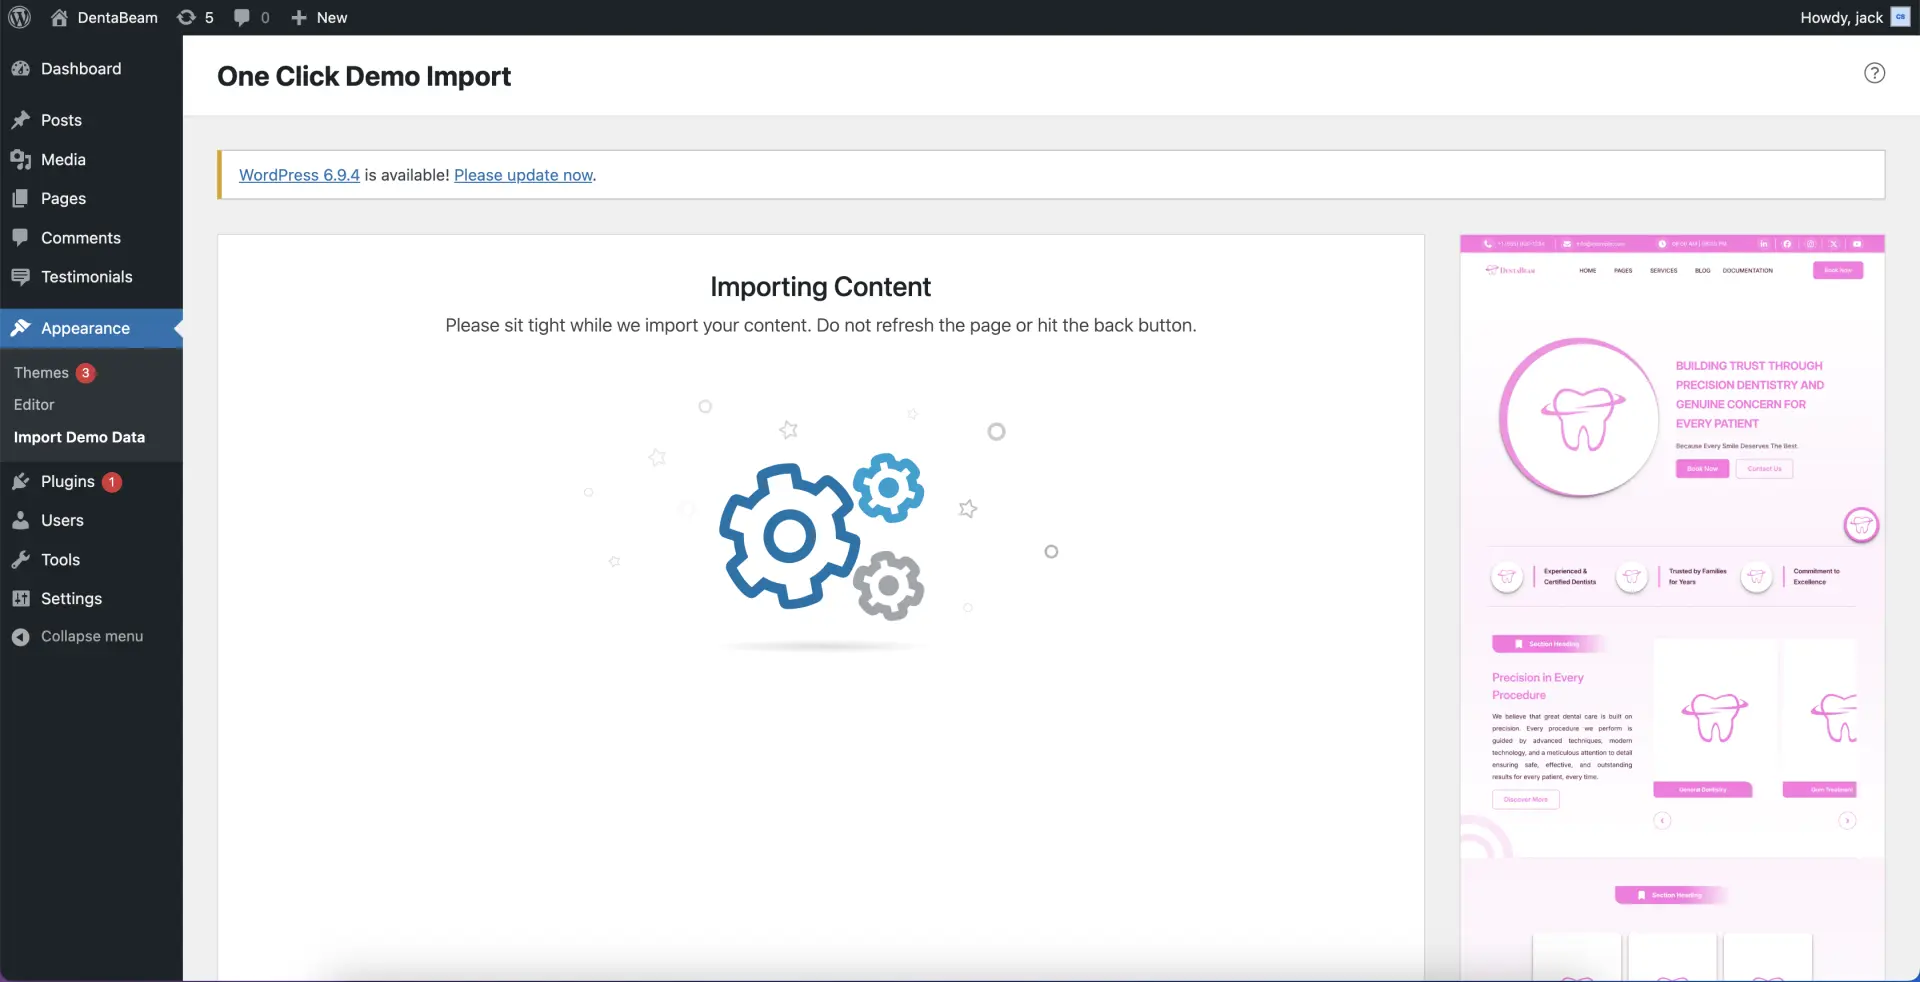
Optional: One Click Demo Import (OCDI) Configuration
To import the demo content, including images, navigation menus, and pages, please install and activate the OCDI plugin. Once activated, you can import the demo data with a single click.
After importing the demo content, navigate to Settings → Reading to set your Static Front Page and Posts Page. If you have any questions, please visit our FAQ section and refer to the question: 'What should I do after activating the theme and plugins?